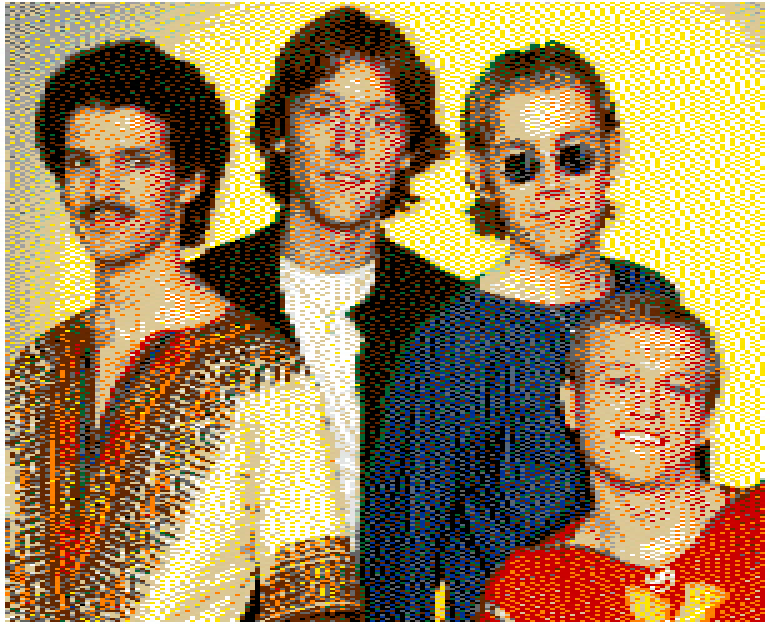
Mike Lindup : keyboards and vocals
Boon Gould : guitars
Philip Gould : drums
Mark King : bass and vocals
| Home | LEGO creations | ministeck mosaics | Contact |
(design: May - December 2004)
(Pictures of my creations can also be found in my BrickShelf folder)

Mike Lindup : keyboards and vocals
Boon Gould : guitars
Philip Gould : drums
Mark King : bass and vocals
After writing my program to create ministeck mosaics, I decided that it can also be used to create mosaics from LEGO. The only thing I had to do was to define a few new colours (and slightly altering the RGB colour-values of a few already existing colours). In case of a "studs-up" mosaic, I also have to stretch the image with a 5/2 height/width ratio (because every "pixel" should have a 2/5 height/width ratio).
The biggest advantage of creating mosaics from LEGO is that I don't need to use the program-module to avoid the use of 1x1 elements: 1x1 bricks and 1x1 plates are common LEGO elements.
The previous mosaic Bob the Builder was created according to the "solid regions" method: only large areas of one specific colour, in this case seperated by a black line.
This mosaic is created according to the "error diffusion dithering" method: large areas of a specific colour are always represented by two or more colours, resulting in lots and lots of 1x1 elements. In my program I used the "Floyd-Steinberg" algorythm because in my opinion this method results in pictures that can hardly be distinguished from the original pictures. Originally this algorythm is designed to convert pictures to black and white - to increase filesize. I extrapollated the algorythm to a 3-dimensional RGB-space myself.
The first problem was to find a good subject for the mosaic. I always wanted to make a mosaic of Level 42 - my favourite band from the eighties. Unfortunately most of the pictures of the band were in grayscale and on the other pictures they were mostly dressed in jeans or standing in the shadow. I've been desperately searching for a colourful picture of the band until in February I found this wallpaper from the band.
That was the picture I've been desperately searching for!
I tried to alter the image by placing Mark on the same height of his friends, or by turning the background of the image into a solid colour, but in the end I decided to keep the original image - with its possible imperfections.
The second problem was to decide which colours I would use to make this mosaic (some colours are easier to find than others). The Brickish Association had a list of inventories of several LEGO-shops on their webpage. I based my choice of colours on what I found in these inventories. On the other hand I also had a rather large supply of 1x1 plates and 2x2 corner plates in rare colours, which I found in the Pick-and-Mix boxes ("Wühlkisten") (to find these small elements I always had to search the boxes down to the bottom - quite a task!).
Anyway, I decided to use the following colours (in order of appearance): Tan, White, Brown, Yellow, Black, Dark Grey, Orange, Light Grey, Red, Blue, Green, Very Light Grey, Sand Blue, Sand Green and Medium Blue.
It may be obvious that mosaics from Henry Lim and Eric Harshbarger also inspired me to build this mosaic. The extra challenge to build this mosaic was to use no glue at all for a "one-stud-wide" "studs-up" mosaic.
 |
|
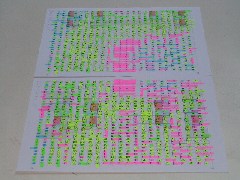 |
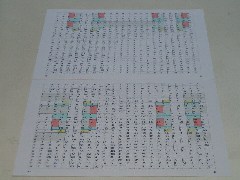
I did this manual piececount to obtain a neat "List of Materials": because this mosaic would be quite an expensive project, I didn't want to buy too many pieces... Besides, I started this project in May while our holiday in Denmark was only planned in August... What else could I do in the mean time?
As you can clearly see on the backside, there are four points to hang the mosaic. Bob only needed one, so I guessed (or at least I hoped) that four should be sufficient in this case...
Unfortunately I ran into a few problems:
1. In my list of colours you may have noticed the presence of Orange (I was not satisfied with the output of my program without this colour). Unfortunately, 1x1 plates do not come in Orange. Because the mosaic is two studs wide (1 stud for the mosaic, 1 stud for the backing frame), I originally intended to buy 1x2 plates and let them stick out at the back.
2. Just like Bob, this mosaic should've been two studs wide. Because I couldn't find enough large technic liftarms, I decided to add one stud for the frame and use 1x16 technic bricks (I had plenty of those). In the mean time, I gathered quite a lot of those technic liftarms, maybe I can use them for the next mosaic...
3. We visited Billund near the end of the season, some elements were sold out and they had no more in stock, e.g. there were no 1x2 plates in Light Grey or Dark Grey (these were rather important with the "brickwall"-structure in mind). I only found a couple of hundreds 1x1 plates in Tan and Brown were I needed a couple of thousands in each colour. On top of that I also made a few (minor) mistakes in my "List of Materials".
4. 1x1 plates in Light Grey and Dark Grey were not sold seperately, only in their mosaic set. But because I asked so nicely, they gave me permission to buy them by weight (I didn't have to buy the complete mosaic set). Guess what: I had to pay more for the elements seperately. I asked my money back and bought mosaic sets instead (now I also have baseplates and lots of sloped bricks in my supply).
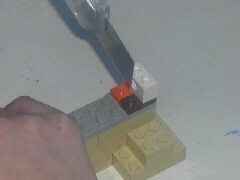
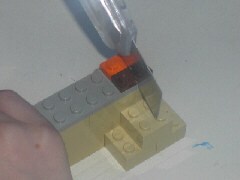
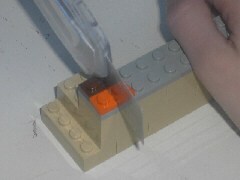
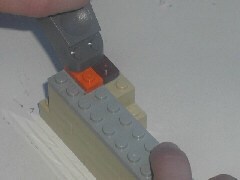
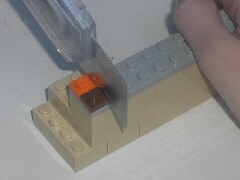
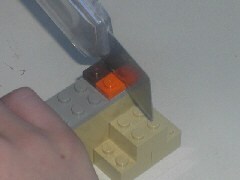
5. Sorry, I cheated. Because I didn't have enough 1x1 plates in Tan and Brown, I decided to buy lots of 1x2 plates in Orange, Tan and Brown and cut them in half (don't shoot me please).
 |
 |
 |
 |
 |
 |
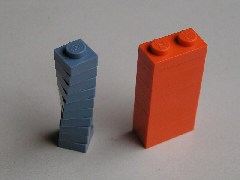
6. Because the mosaic contains so many 1x1 plates (almost 28.000), you may expect large stacks of 1x1 plates throughout the mosaic. If these elements are not nicely aligned with the previous ones, you get this "spiral staircase"-effect. |
 |
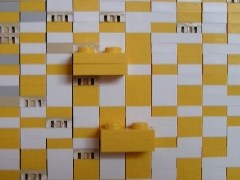
7. To avoid these large stacks of 1x1 plates without changing other "pixels" (and gaining strength), I used 2x2 corner plates to join two columns (only visible from the back). |
 |
''The machine stops''