|
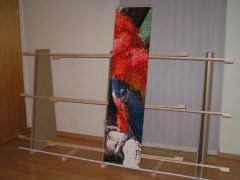
- Left: The wooden structure that holds the entire mosaic (notice that it is stretchable from approx. 2 meters up to approx. 4 meters wide).
- Right: Panel 1 in position.
|
 |
 |
- Left: Panel 2 in position.
- Right: Panel 3 in position.
|
 |
 |
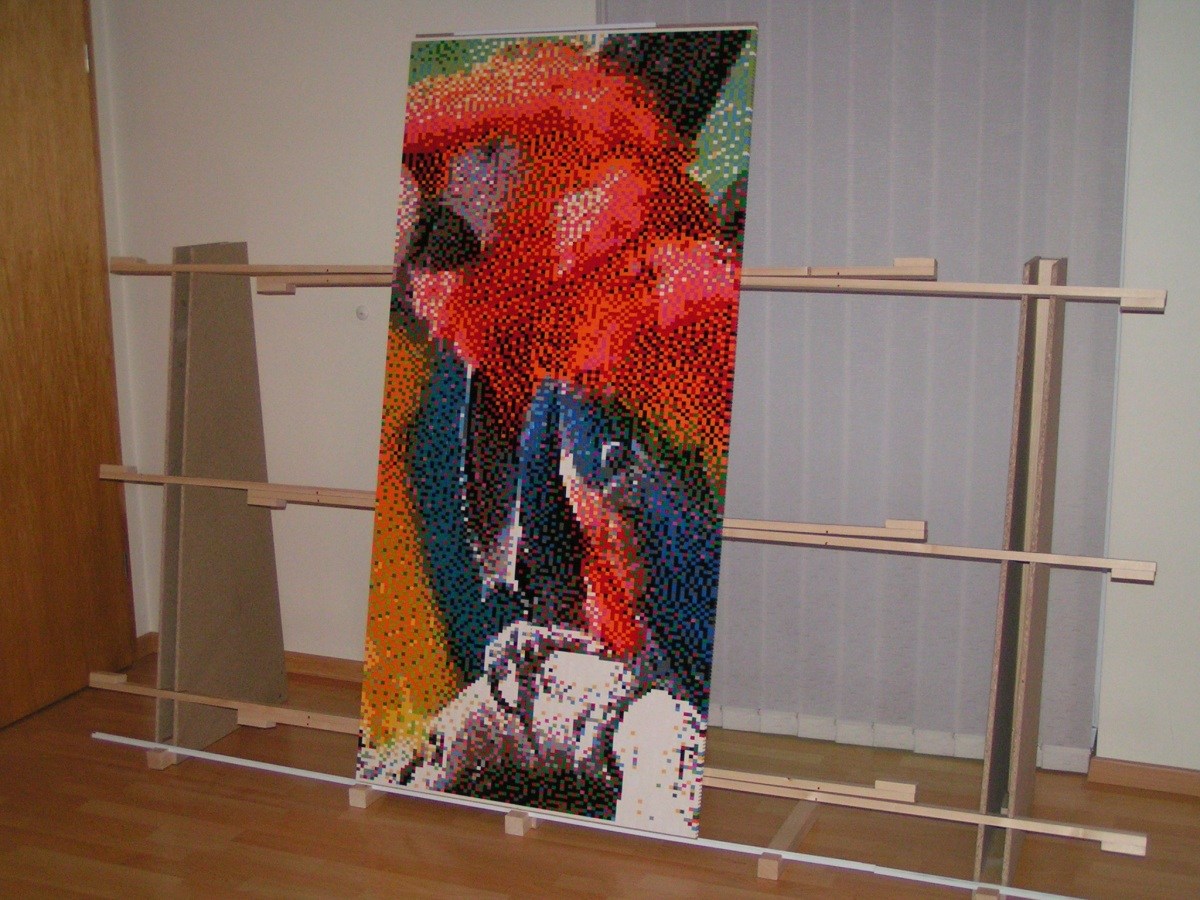
- Left: Panel 4 in position.
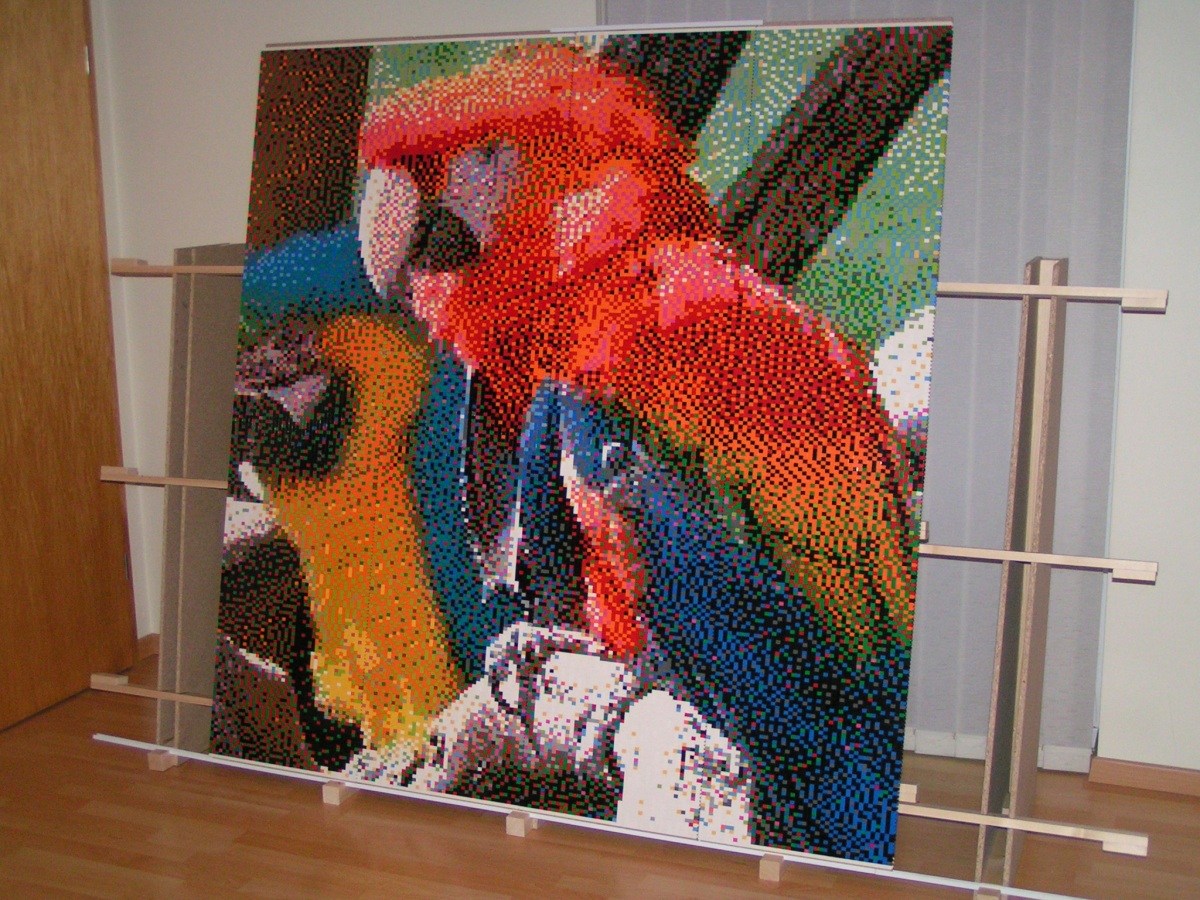
- Right: Panel 5 in position.
|
 |
 |
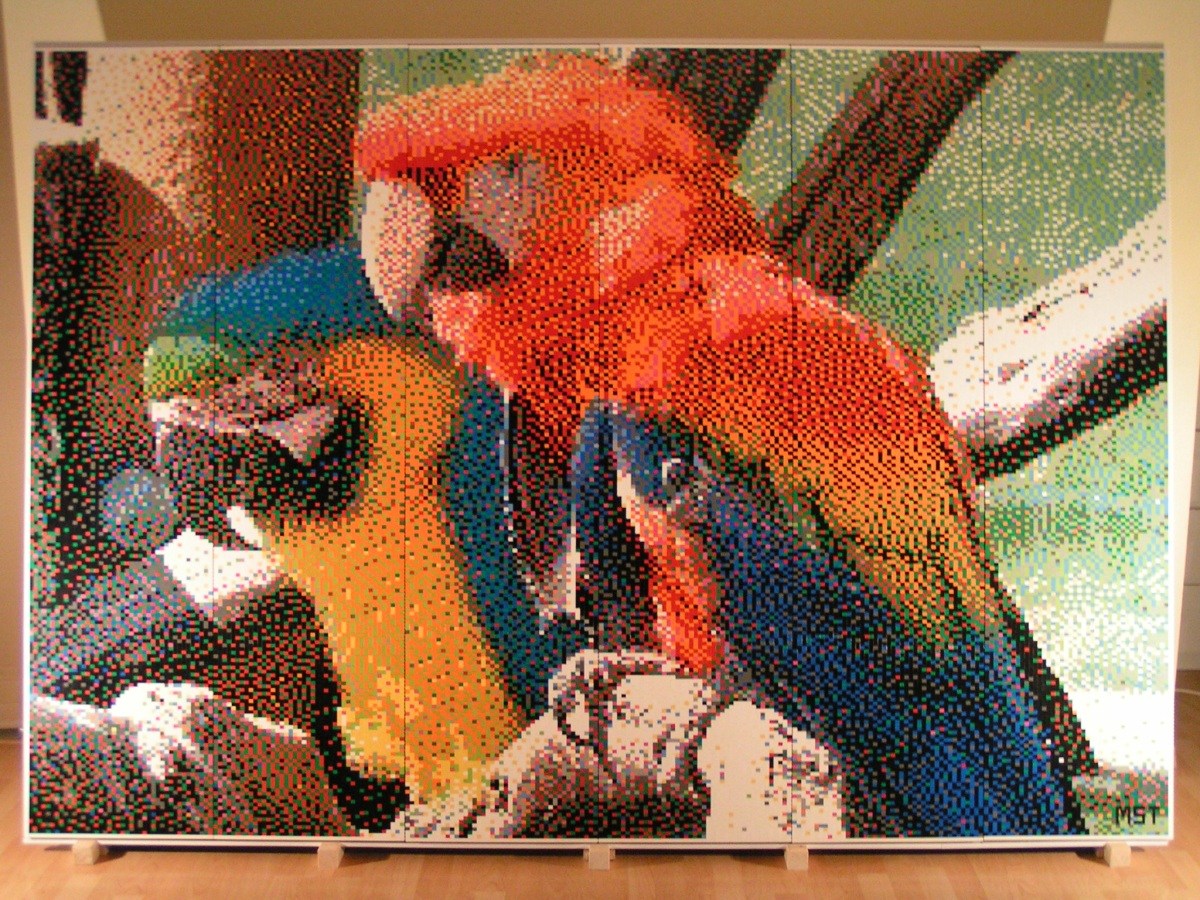
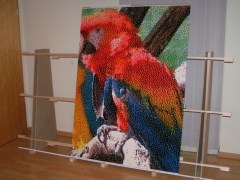
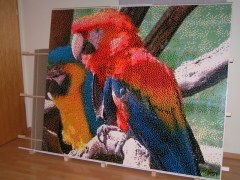
- Left: The completed mosaic measures 2,48 meters wide and 1,74 meters high (256 x 214 non-square pixels).
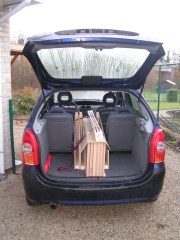
- Right: And it doesn't just fit in the car: there's still plenty of room for 3 passengers and lots of LEGO...
|
 |
 |
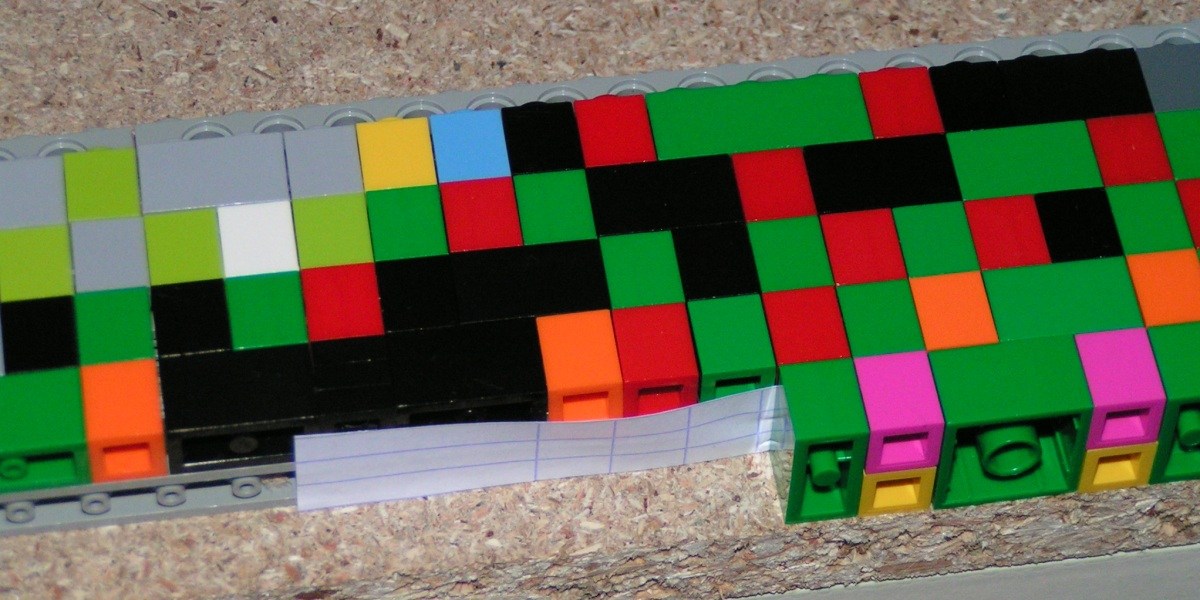
- Left: Before I started building this mosaic each wooden panel was 'prepared': every eighth row I screwed (and back unscrewed) 1x16 technic bricks on the panel. To make sure the bricks were perfectly aligned and to avoid deformation while building I had to use these screwholes again!
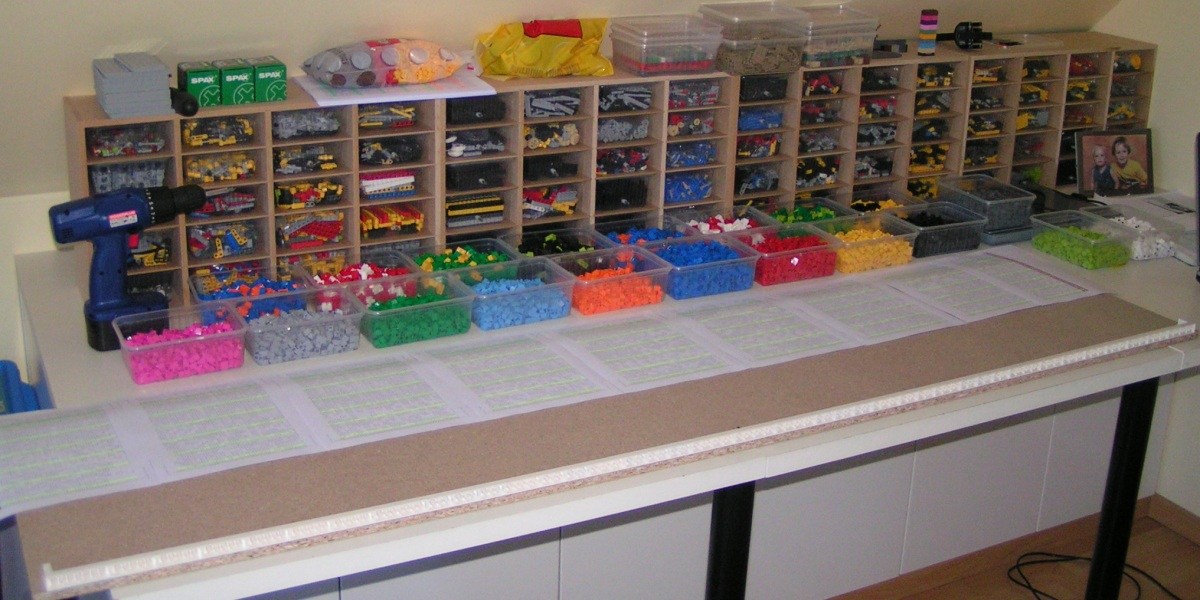
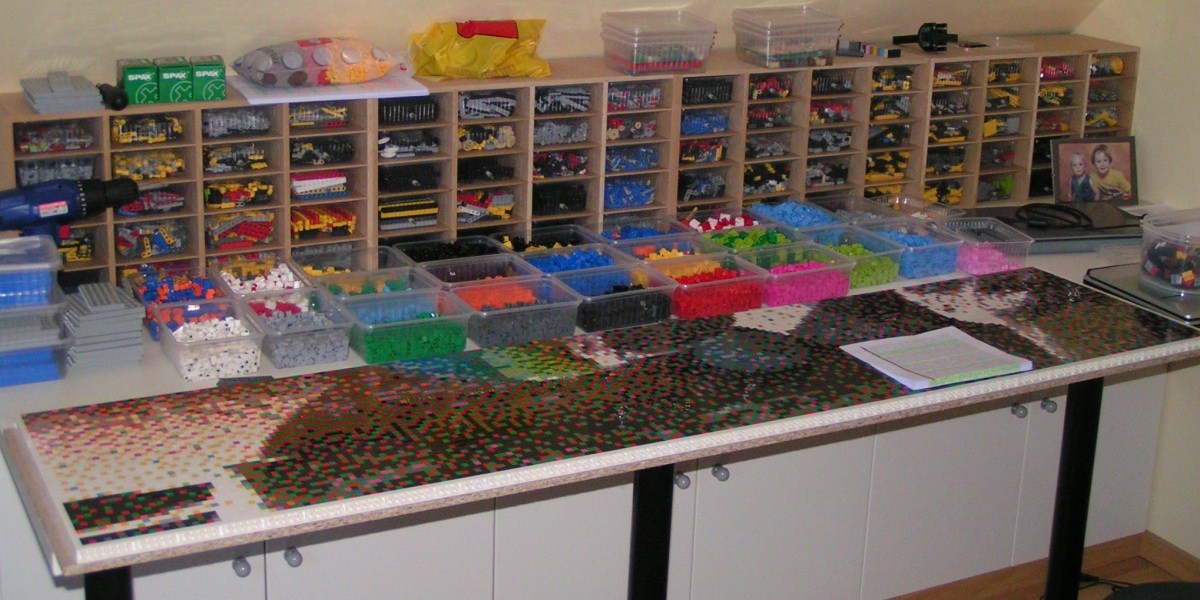
- Right: In the beginning, there was nothing... Only lots of sheets with building instructions, and lots of trays filled with bricks.
|
 |
 |
- Left: I see lots of colours coming up after a few hours (or was it: days?...). With the panels lengthwise on my desk, I am actually building upwards (which is a lot easier). The completed mosaic however is build sideways.
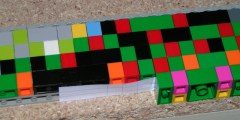
- Right: To make sure it wouldn't fall apart during transport, the first and last row of each panel was reinforced with a small piece of paper. You can really feel a difference!...
|
 |