About SNOT ("Studs Not On Top")
(design: November 2005)
(Pictures of my creations can also be found in my BrickShelf folder)
1. The idea
I attended LEGO-World 2005 (only on Saturday) with my Cube, Sphere and Level 42-mosaic. Both puzzles were demonstrated probably 50 times that day with parts of the cube breaking off. This was because of the SNOT-technique that was used:
The total surface of this part equals 80 studs (4x20), where both surfaces are attached to each other by only 12 studs (15%). To attach two plates to each other and preserve a solid structure, 25% or more is recommended. At the time I also didn't have enough large tan plates, so more bricks were used - weakening the structure even more. |
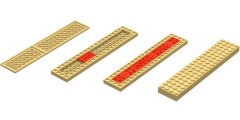 |
On the other hand, TLC no longer produces the 1x2 hinge plates with two or three fingers (partnumbers 4276 and 4275), so if I ever want to make more puzzles like this, these parts would be very difficult to find. That's why I decided to redesign a few of my puzzles, where I tried to use as few rare parts as possible. |
2. The trick...
Main challenge: no visible studs on top or bottom of elements (smooth surfaces on all sides). I acheived this by building two solid structures in/round each other both facing outwards. This technique requires lots and lots of tiles, but when I visited LegoLand Günzburg in July 2005 I noticed that tiles were available in many different sizes and colours. I went back in November to buy (among other things) more than 1 kg of tiles (unfortunately at the end of the season they only had red ones left; that's why the Japanese Crystal turned out to be red instead of the originally planned white).
3. The cubic puzzle
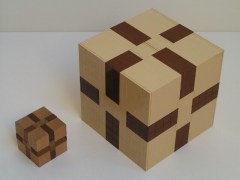 |
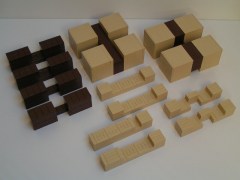
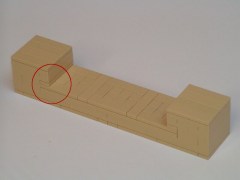
Nothing has changed; the finished puzzle still looks exactly the same. All the pieces still have the same shapes and sizes. Below: But if you take a closer look at the pieces, you can clearly see what has changed: tiles facing towards each other are holding both solid structures together. |
 |
 |
Remarks:
- Only bricks, plates and tiles were used!!
- In LegoLand Günzburg I bought lots of 2xN and 4xN plates in tan and brown (still old brown!). Unfortunately they didn't have 1xN plates, so I had to sacrifice my Wright Flyer (again!).
4. Japanese Crystal with 33 pieces
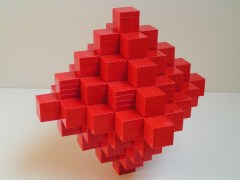 |
- Left: the finished puzzle.
- Right: the 33 pieces required to build the Japanese Crystal.
|
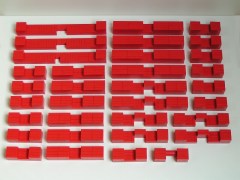 |
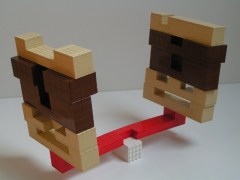 |
- Left: to proove that even the largest pieces are very strong...
- Right: the same construction method: two solid structures built in/round each other.
|
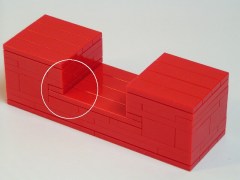 |
Remarks:
- Again: smooth surfaces on all sides.
- Again: only bricks, plates and tiles were used!!
- I'm sorry, I lied. Here's the list of other elements I used for the largest version of the Japanese Crystal:
- Technic rotor 2 blade with 2 studs (2711): 12x (4 in each large element for strengthening the large, but small body of the structure).
- Technic brick 1x2 with axlehole (32064): 4x (the key piece).
- Technic axle 8 (3707): 1x (the key piece).
- Brick 2x2 round (6143): 3x (the key piece).
- The key-piece was built SNOT around this central axis. The key-piece is now as strong as the other pieces (this wasn't the case in the SNOT-version of the old Crystal).
5. Japanese Crystal with 19 pieces
With a minor adjustment on the largest pieces (no other elements are required!), it is possible to make another (smaller) Japanese Crystal with 19 pieces.
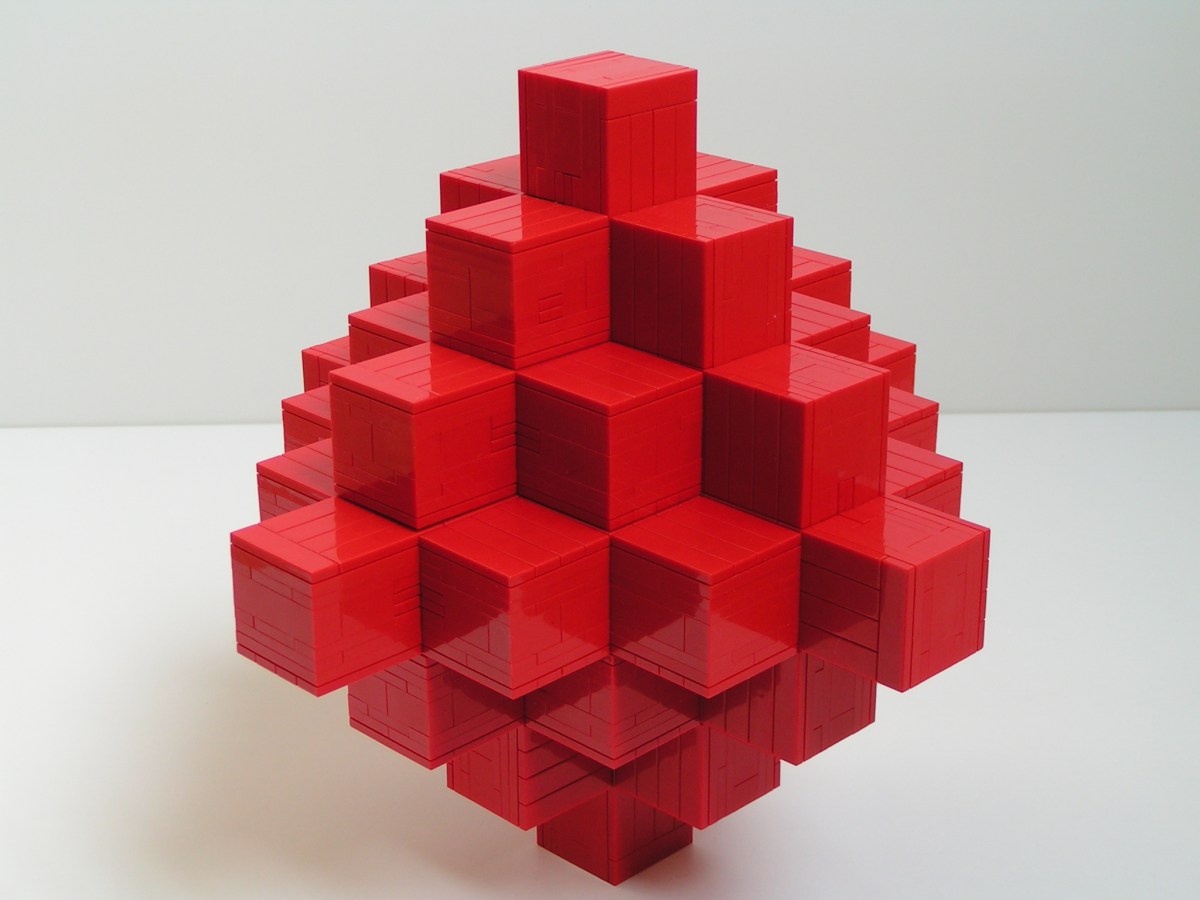 |
- Left: the finished puzzle.
- Right: the 19 pieces required to build the Japanese Crystal.
|
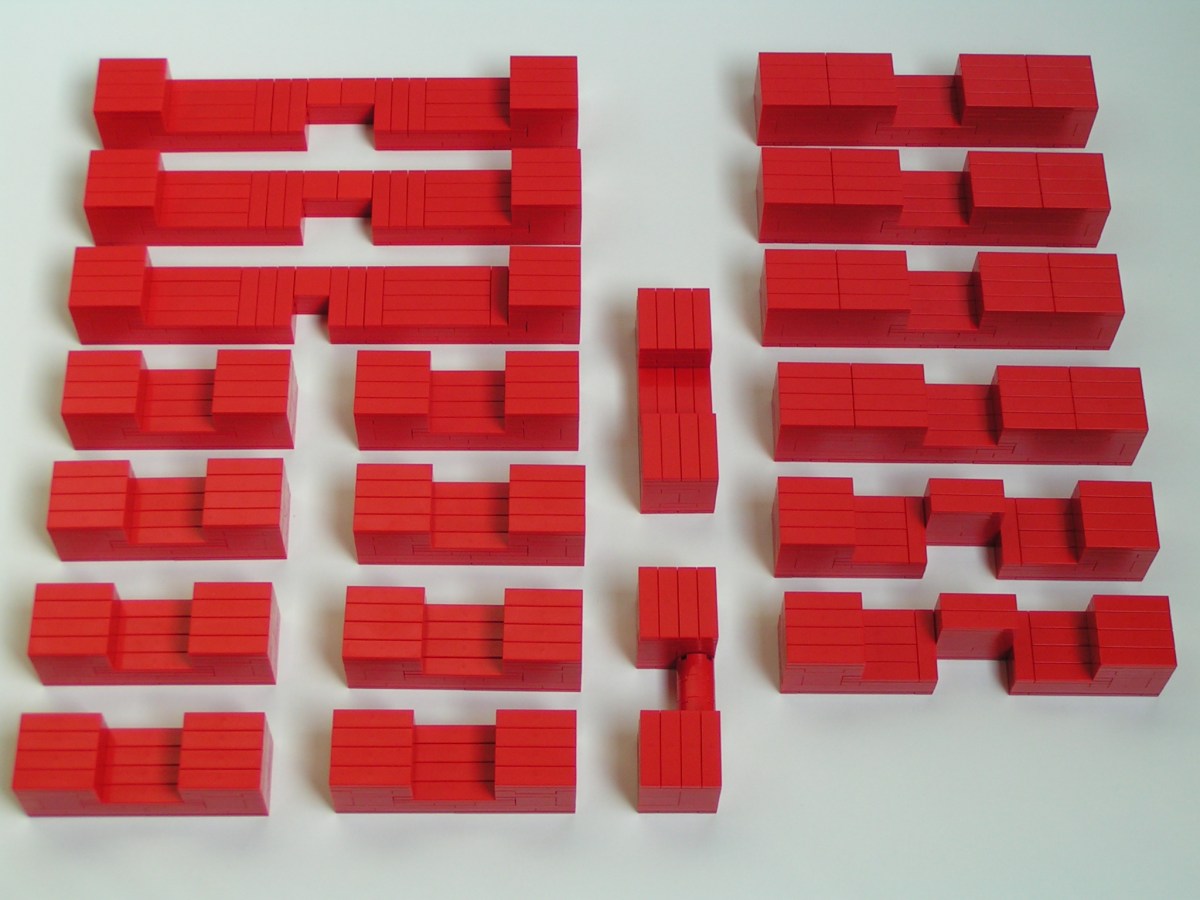 |
6. Japanese Crystal with 9 pieces
With another minor adjustment on the largest pieces (no other elements are required!), it is possible to make yet another (smaller) Japanese Crystal with only 9 pieces.
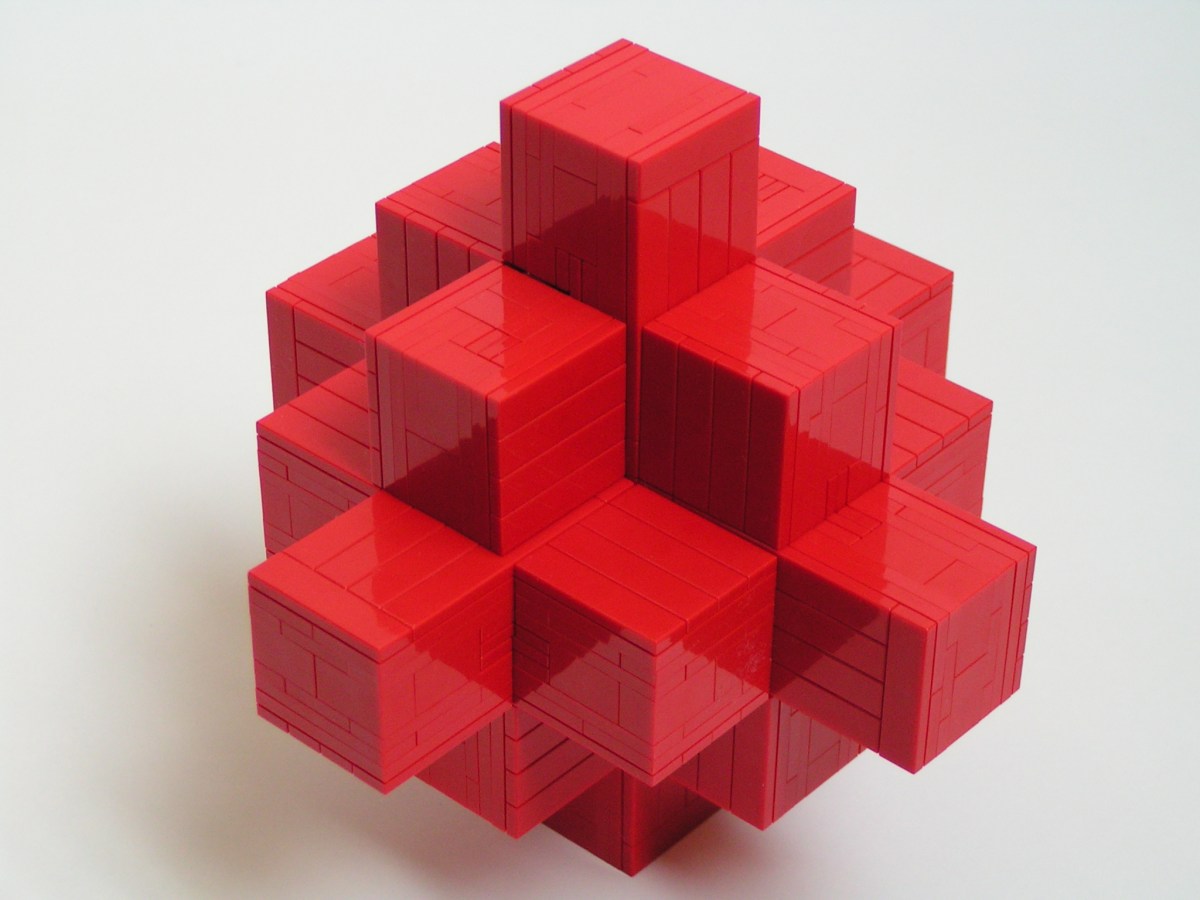 |
- Left: the finished puzzle.
- Right: the 9 pieces required to build the Japanese Crystal.
|
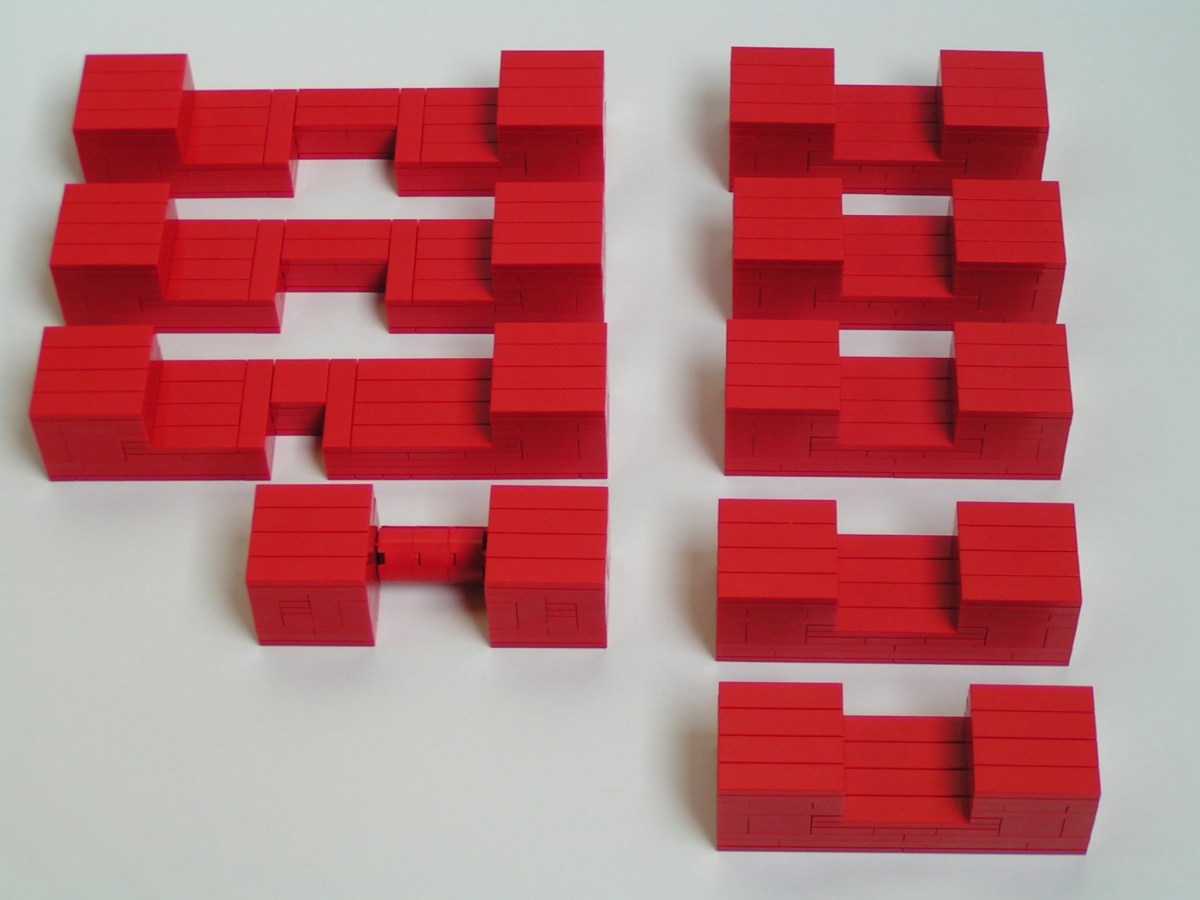 |
The rendered images are created with MLCad, converted with L3P and rendered with POV-Ray.


